After much Trial and Error, these are the settings that we have found give the best print quality of the Tesla Tag.

2.
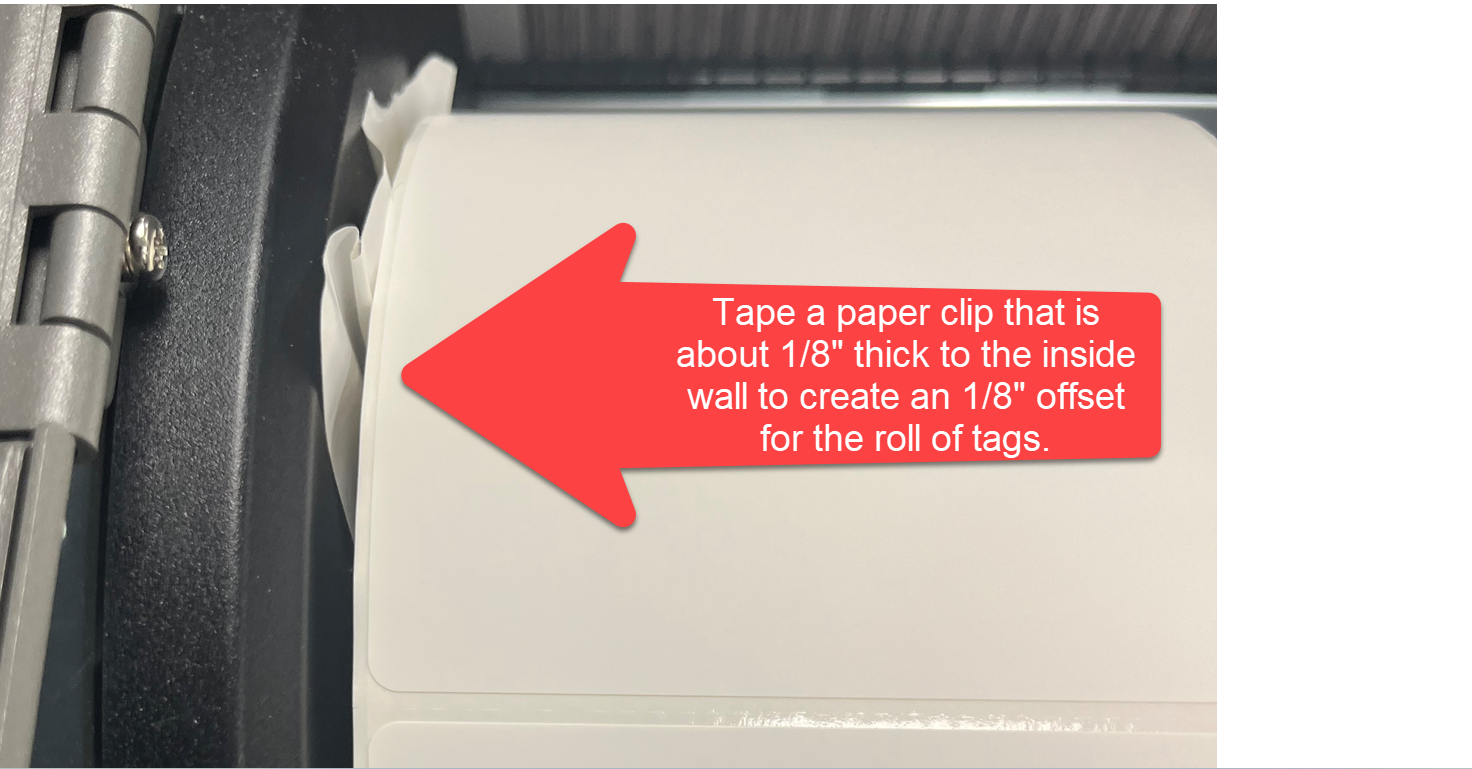
Only do this if Tesla does not like our printer setting for Offset at -30 DOT where it leaves a very slight space in the upper left hand corner of the Tesla Tag between the F&r in the word From.
Before putting on the Tesla Tags on the mandrel, tape a bigger paper clip to the inside wall cover to have about 1/8 offset.
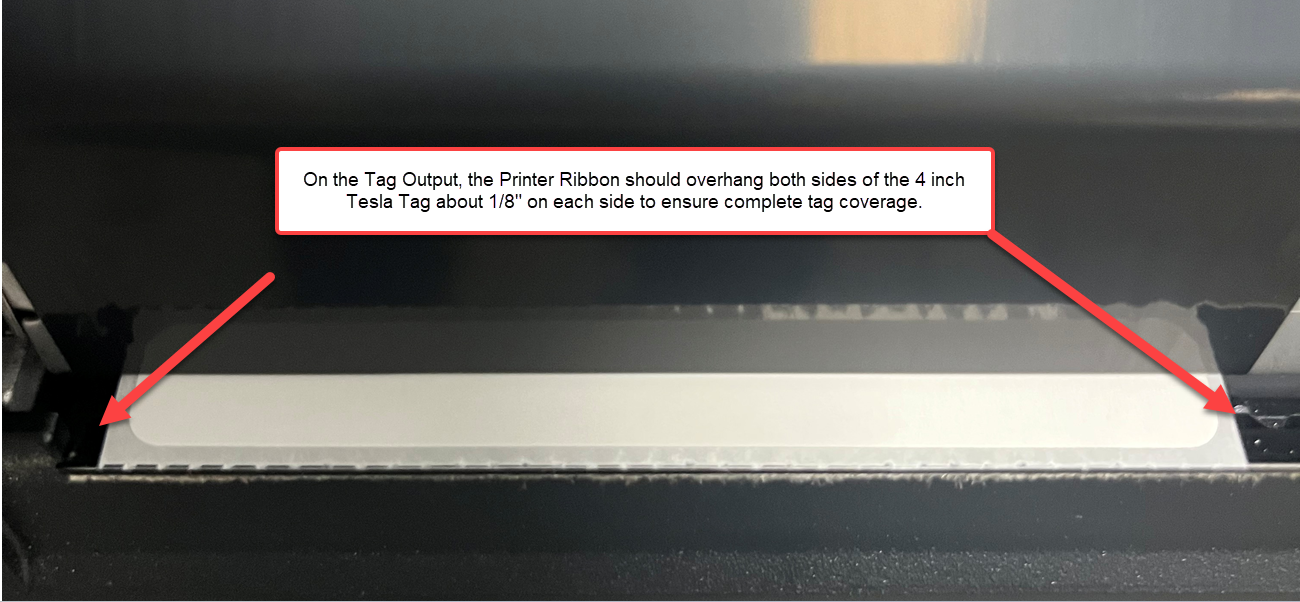
3. Make sure the Weigh Tag is centered on the printer output to ensure about an 1/8 of ribbon is overhanging the labels on each side to ensure coverage on all 4 inches of the Tesla Tag.
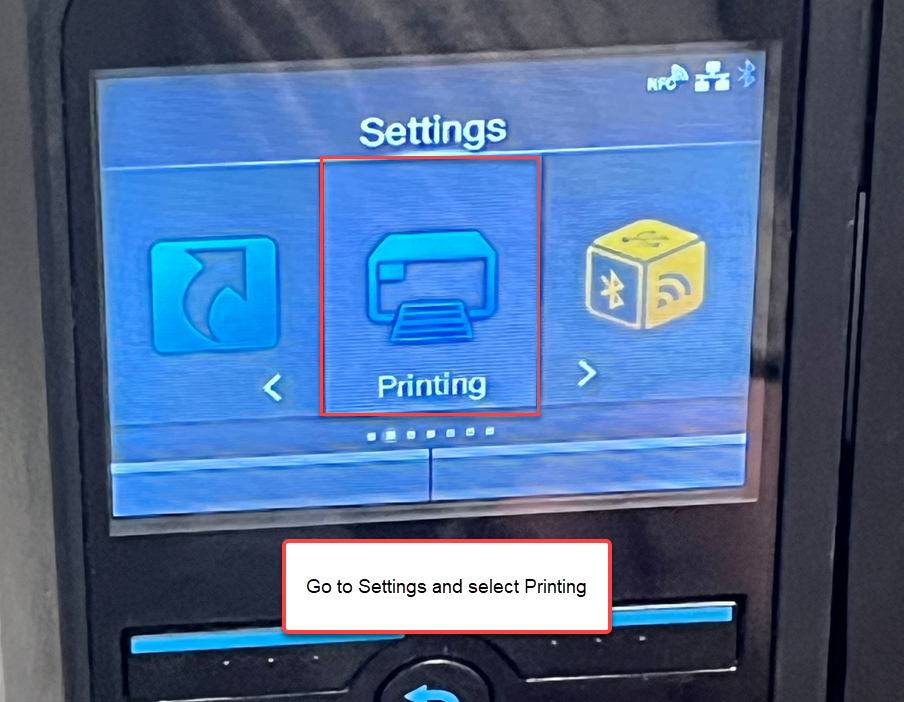
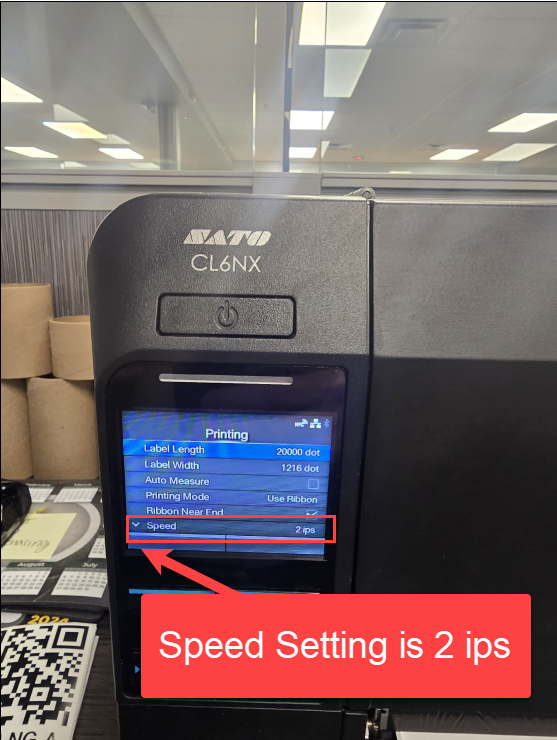
4. Close up the Printer and hit Settings, then Printing.
5. Speed Setting is 2 ips
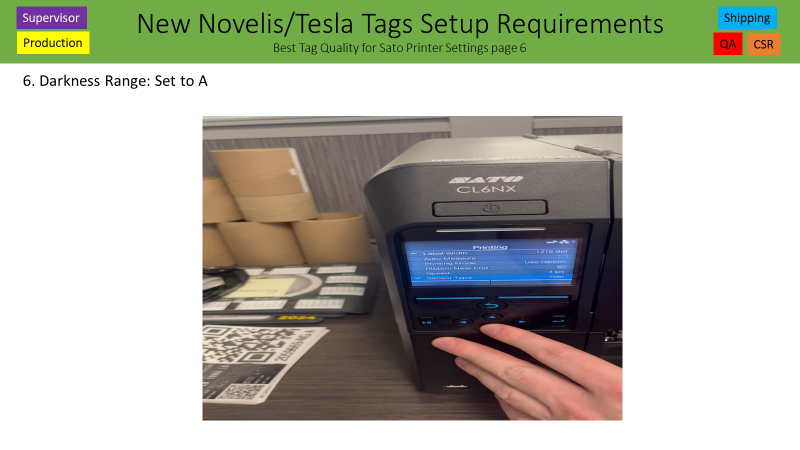
6. Darkness Range: Set to A
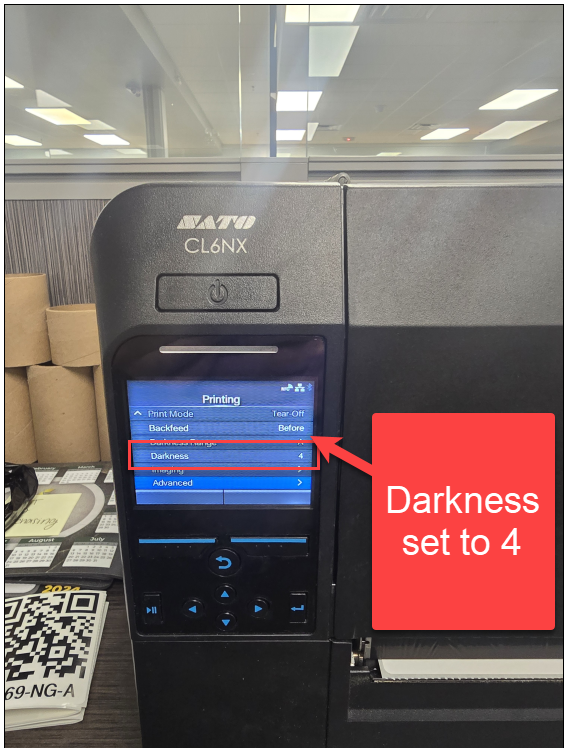
7. Darkness: Set to 4
8. Use these instructions 1st to set the Offset to -30.
If Tesla does not like the space between the F&r in the word From in the upper left hand corner, then refer to slide to 2 to add the 1/16” shim.
Step 1: Printer Settings -> Advanced -> Adjustments -> Offset = -30 dot

9. Use these instructions 1st to set the Offset to -30.
If Tesla does not like the space between the F&r in the word From in the upper left hand corner, then refer to slide to 2 to add the 1/16” shim.
Step 2: Printer Settings -> Advanced -> Adjustments -> Offset = -30 dot

10. Use these instructions 1st to set the Offset to -30.
If Tesla does not like the space between the F&r in the word From in the upper left hand corner, then refer to slide to 2 to add the 1/16” shim.
Step 3: Printer Settings -> Advanced -> Adjustments -> Offset = -30 dot

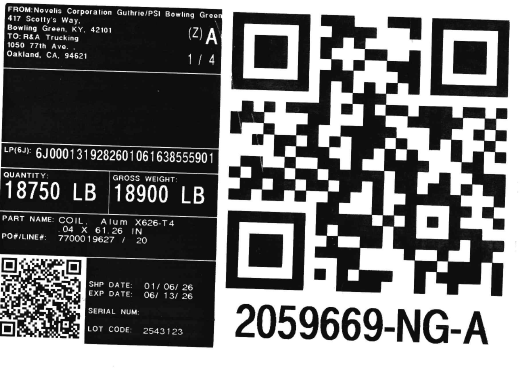
11. The Novelis Tesla Tag prints off without any lines and everything fits on the 4 inch Tag.
Was this article helpful?
That’s Great!
Thank you for your feedback
Sorry! We couldn't be helpful
Thank you for your feedback
Feedback sent
We appreciate your effort and will try to fix the article